
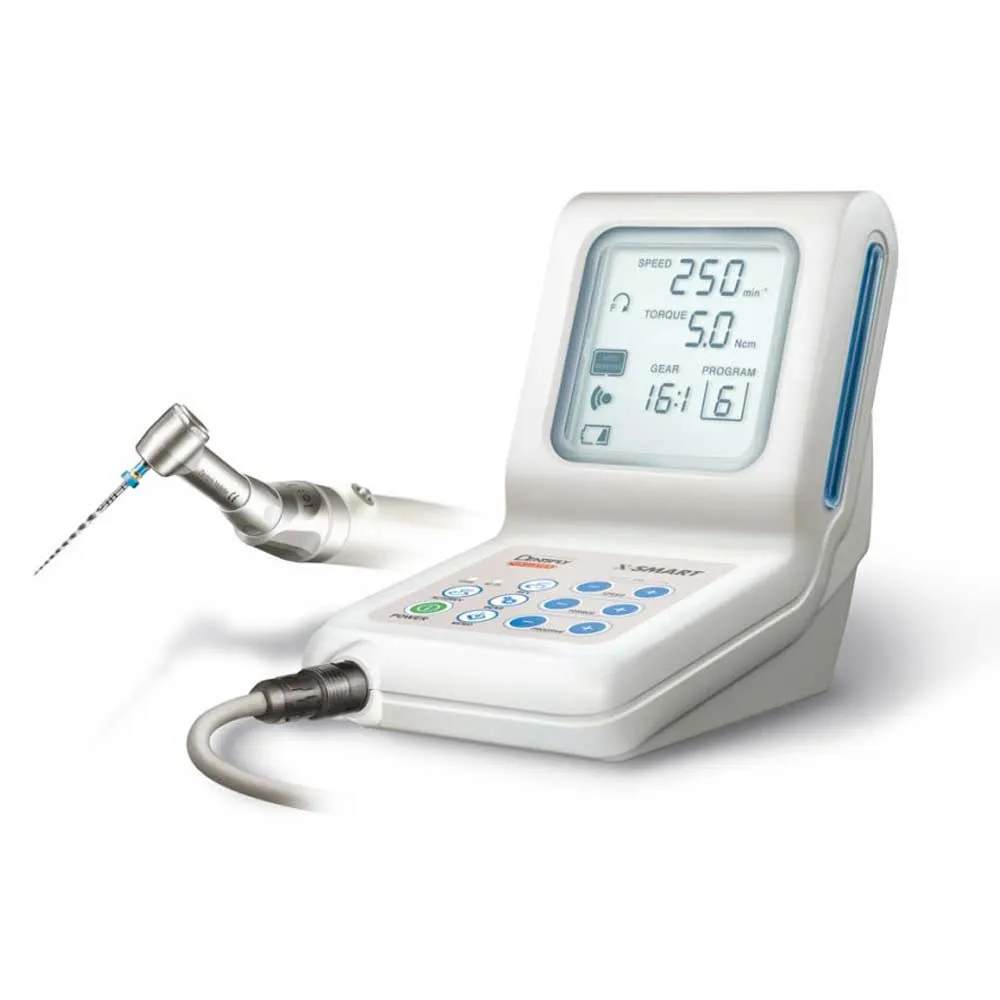
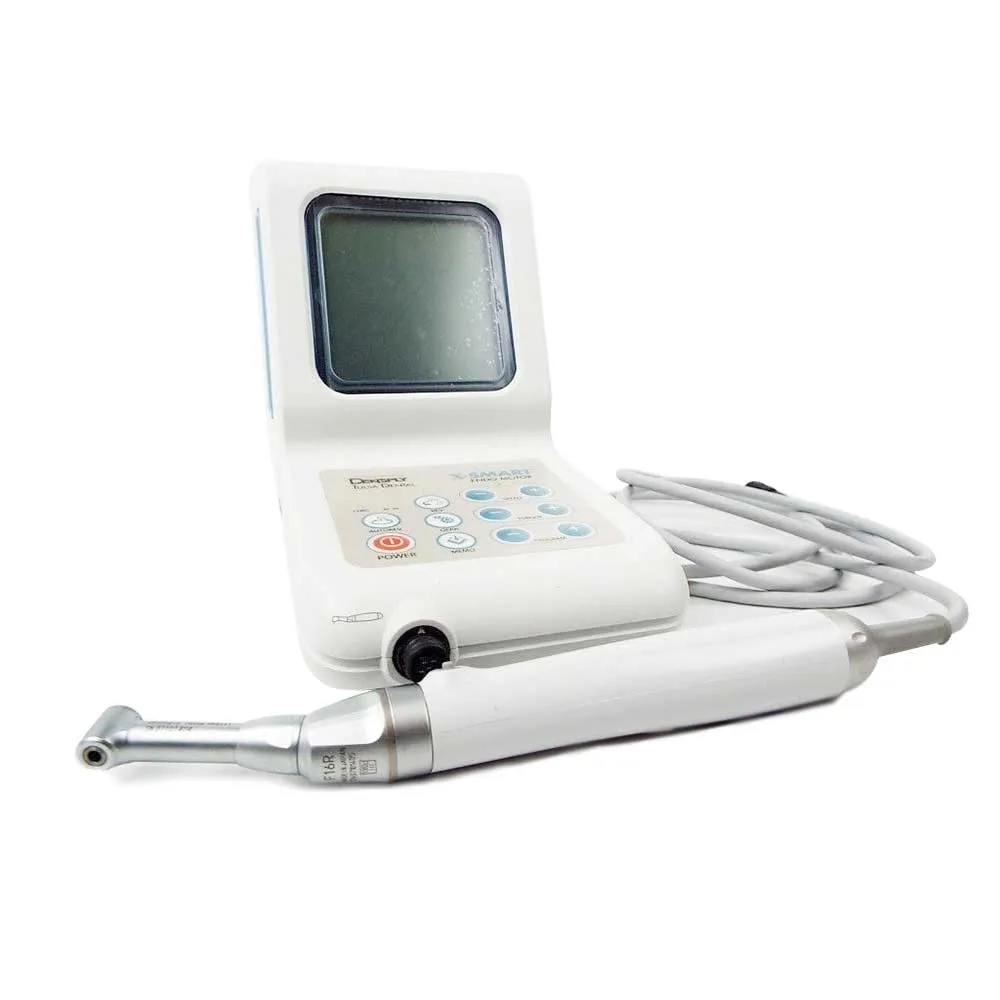

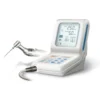
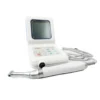


Dentsply X-Smart Endomotor
₹63,392.00
A versatile, lightweight endomotor with adjustable settings for precise endodontic procedures offers a clear LCD display and audible warnings.

Description
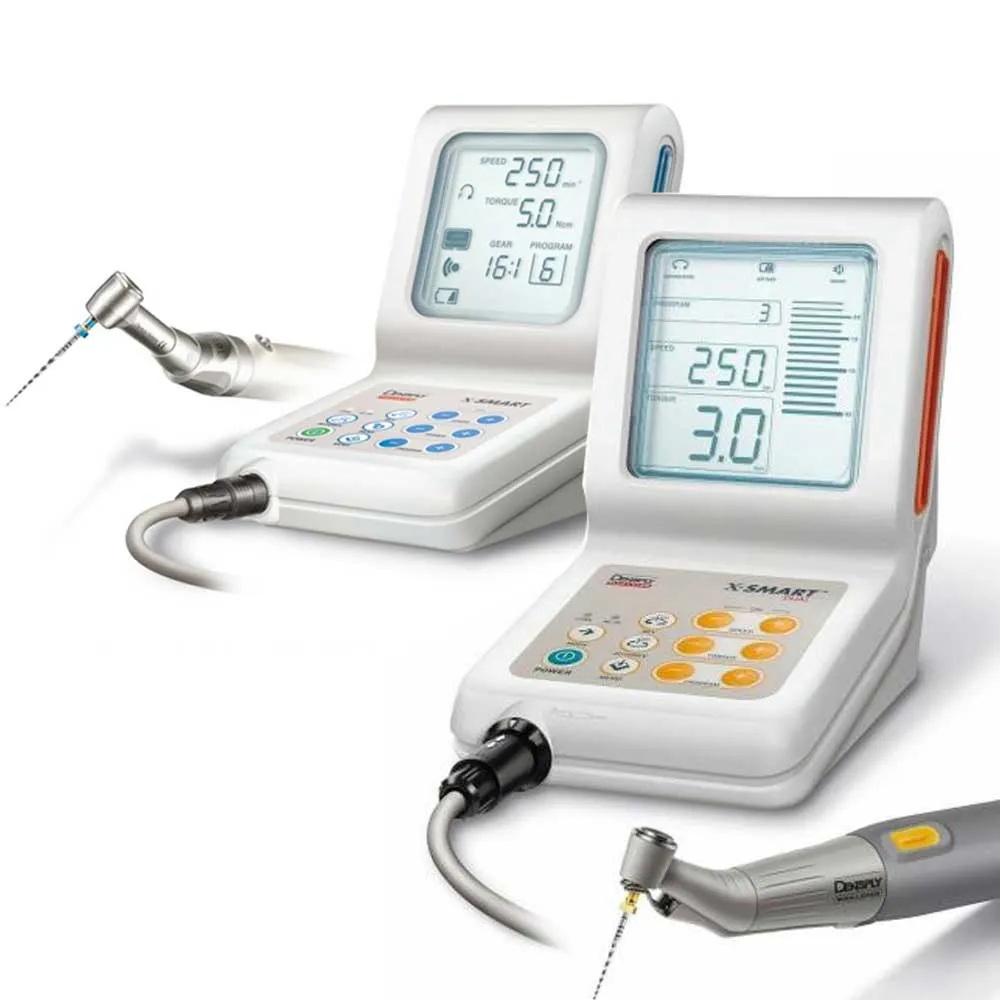
Dentsply X Smart Endomotor is one of the best endodontic micromotors designed specifically to drive. This simple, compact and lightweight device can be adapted to the needs of your endodontic practice. X Smart operates on a battery or electrical power. The battery takes about 5 hours to reach full charge and offers 2 hours of use time. The LCD screen offers a clear display and is angled to facilitate easy visualization during the biomechanical preparation of the root canal. The various settings available on the device can be used to control the speed, torque, gear ratio, direction of file rotation, and the auto-reverse function. 9 programmable settings are available on this smart device to personalize the settings on your endomotor. In addition to this, there appears a graduated bar, which denotes, in real-time, the load being applied to the rotary instrument and audible warning indicators.
Features:
Compact and Lightweight unit
Operates on battery or electrical power
Provides easy visualization
Operates on battery or electrical power
Battery recharging time: approx. 5 hours
Time of use on battery: approx. 2 hours
Supplied with a 16:1 contra-angle
Operates without a pedal (sold separately)
Specification :
Speed range : 120 – 800rpm
Torque : 0.6 – 5.2Ncm
9 adjustable program selections
16:1 compact contra-angle
Handpiece weight – 92 grams
Direction to Uses :
Connecting the AC Plug Adapter:
Select the appropriate plug adapter that matches your electric power outlet.
Connect the plug adapter to the charger cable.
Recharging the Battery:
Complete the measurements and disconnect the measurement cable from the patient.
Unplug the measurement cable from the device.
Connect the charger cable to the ProPex Pixi.
Connect the charger to a power source outside the patient’s environment, keeping it at least 1.5 mm away from the patient.
The battery icon on the device will blink, indicating that the battery needs recharging. However, the device can still be used for several treatments before it shuts down.
The battery symbol will stop blinking and remain steady once the charging is completed. Note: Charging typically takes approximately 12 hours (24 hours after a long period of non-use). The device cannot be used while charging.
Cable Connection Test:
Connect the measurement cable to the device and turn on the ProPex Pixi.
Attach the lip clip to the patient, ensuring proper cleaning of accessories before the test.
The “Connection test” icon should appear on the device’s status bar. If no icon appears, consider replacing the connection hook or measurement cable.
Apex Localization:
Disconnect the charger from the device (if connected).
Plug the measurement cable into the device and turn on the ProPex Pixi by pressing the “ON/OFF” button.
Attach the lip clip to the patient.
Gently insert the file into the canal.
Connect the connection hook to the metal shaft of the file.
The first bar on the device will stop blinking accompanied by a double beep signal, indicating the start of apex localization.
Sound Adjustment:
The ProPex Pixi has an audio indicator to monitor the file’s progression.
Press the “VOLUME” button successively to adjust the volume to one of the four levels: mute, low, normal, and high.