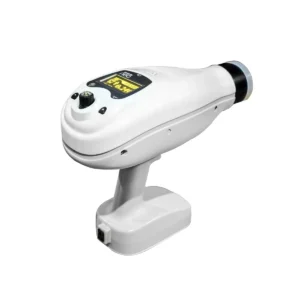
Woodpecker Mini S Light Cure LED
₹3,571.00
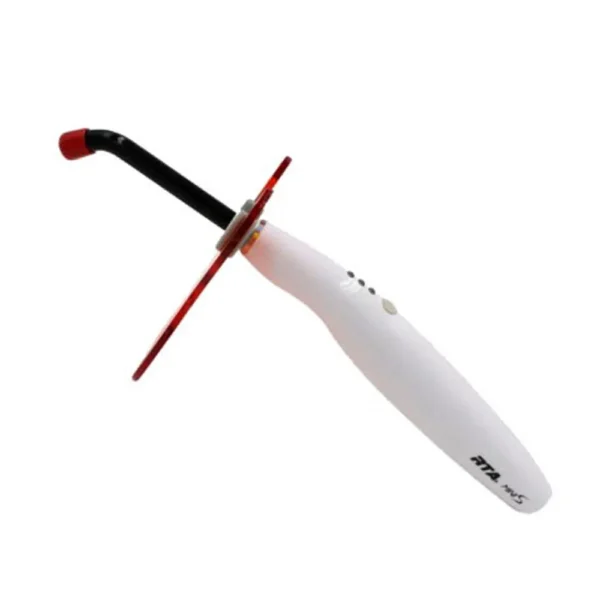
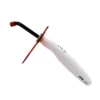
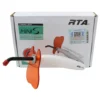
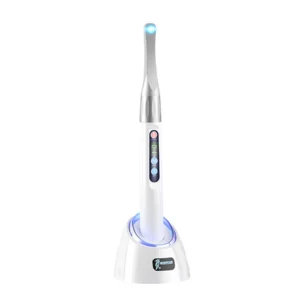
The MiniS curing light is a compact and ergonomic dental instrument designed for tooth restoration procedures. It utilizes ray radiation to quickly solidify light-sensitive resin with its high-power blue light. With its user-friendly features and efficient performance, the MiniS curing light is a valuable tool for dental professionals.

Description
MINI LIGHT CURE UNIT
The MiniS curing light is a compact and ergonomic dental instrument designed for tooth restoration procedures. It utilizes ray radiation to quickly solidify light-sensitive resin with its high-power blue light. With its user-friendly features and efficient performance, the MiniS curing light is a valuable tool for dental professionals.
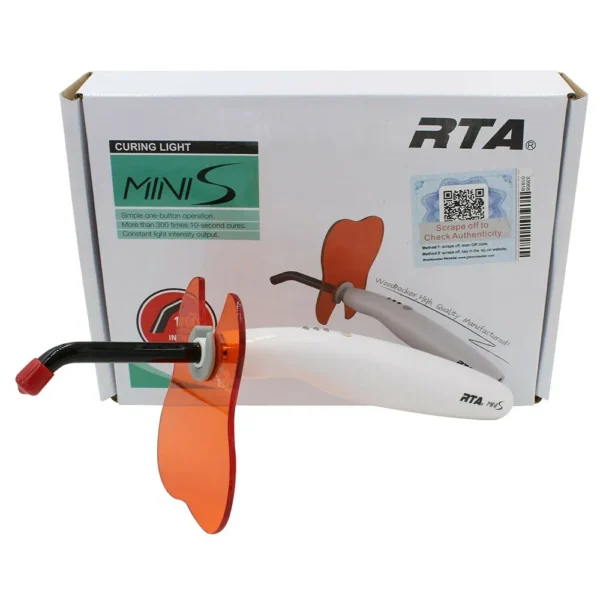
One of the notable features of the MiniS curing light is its ability to provide consistent solidification regardless of the remaining power. This ensures reliable and effective performance throughout dental procedures. The device can be used continuously for over 300 times with a full charge in the 10-second working time mode, offering convenience and efficiency. The MiniS curing light incorporates a 3W high-power blue light LED, which is suitable for resin solidification in dental applications. It has a wavelength range that matches popular dental resin types, ensuring compatibility and optimal results. The light intensity is carefully calibrated for effective solidification, ensuring reliable and durable restorations.
Operating the MiniS curing light is simple, with a button for turning it on/off and setting the desired solidification time. During operation, the device emits blue light, and a countdown timer indicates the remaining solidification time. Dentists have the flexibility to interrupt the process at any time by pressing the button, allowing for precise control and adjustments during dental procedures. The MiniS curing light’s compact and ergonomic design makes it comfortable to hold and operate for extended periods. It is a reliable and efficient tool that assists dental professionals in delivering high-quality dental restorations while enhancing the overall treatment experience for patients.
Features :
Extended Battery Life: Can be used over 300 times with a full charge in the 10-second working time mode.
Ergonomic Design: Compact and convenient design for comfortable handling during dental procedures.
Efficient Light Filtering: Special light hood and holder design for high-efficiency light filtering.
Easy Time Setting: Simple button operation for quick and easy time mode selection (5s, 10s, 20s).
High Power LED: Features a 3W high power blue light LED with a wavelength range suitable for dental resin solidification.
Portable and Lightweight: Compact size and lightweight construction for easy portability and maneuverability.
Specification :
Net weight: 105g
Dimensions: 230mm×26mm×30mm
Power input: AC100V-240V 50Hz/60Hz
Light output: 1000mW/cm² -1200mW/cm²
Battery: 3.7V/1400mAh
Battery mode: ICR 18490
Power Output: DC4.2V/1A
Wavelength: 420nm-480nm
Light intensity: 1000mW/cm²-1200mW/cm²
Light effective acreage: 50mm²
Direction to Uses :
Ensure that the MiniS curing light is fully charged before use.
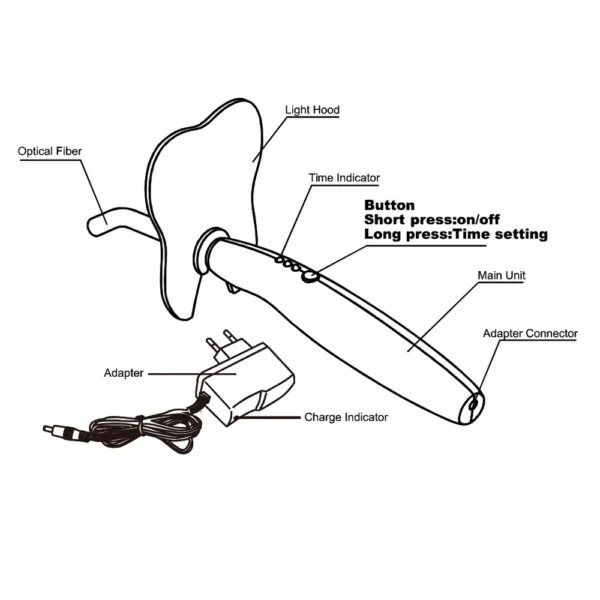
Press the button on the main unit to turn on the curing light. The blue light will indicate that the device is in operation.
Long press the button to access the time setting mode. The time indicator will start flashing. Choose the desired time mode (5s, 10s, or 20s) by releasing the button when the indicator reaches the desired setting.
Aim the blue light at the area that requires resin solidification.
Short press the button to start the curing process. The main unit will emit a “Bi” sound, and the blue light will radiate, indicating that the solidification process has begun based on the selected time mode.
The countdown timer will start, and the light will continue to emit blue light until the set time elapses.
To stop the curing process at any time, simply short-press the button again.
After each working cycle, you can initiate another cycle by short pressing the button. If the equipment becomes noticeably hot, allow it to cool down before restarting. It is recommended to limit continuous working cycles to less than 10 times.
The main unit has a low-power detection circuit. If low power is detected, the display screen will blink or the buzzer will ring three times. Recharge the device promptly.
To charge the battery, connect the adapter’s plug to a power supply and connect the output plug to the main unit’s input plug. The adapter’s charge indicator will change color to indicate the charging status.
Clean the optical fiber with a soft cloth after each use to maintain its performance.

